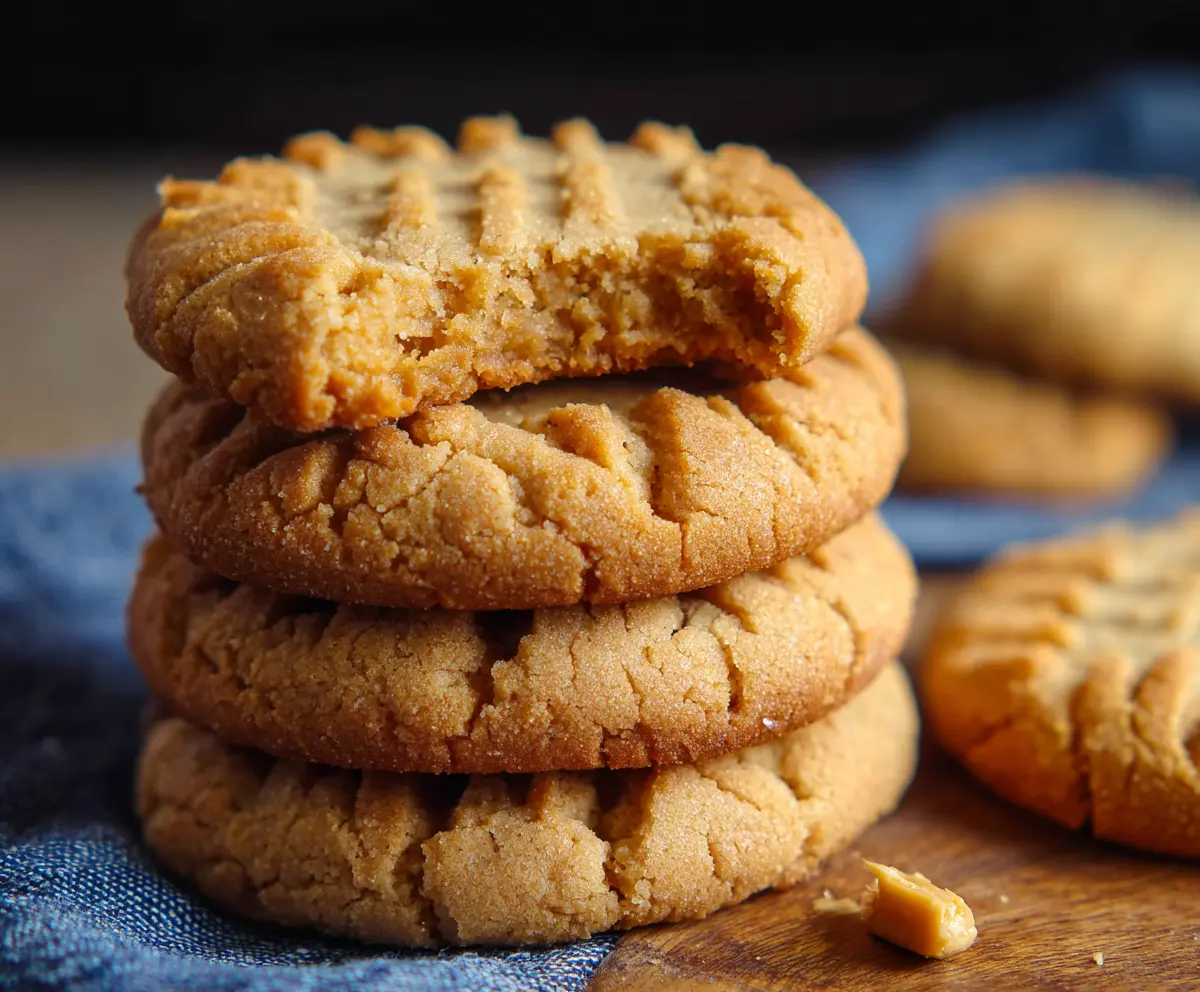
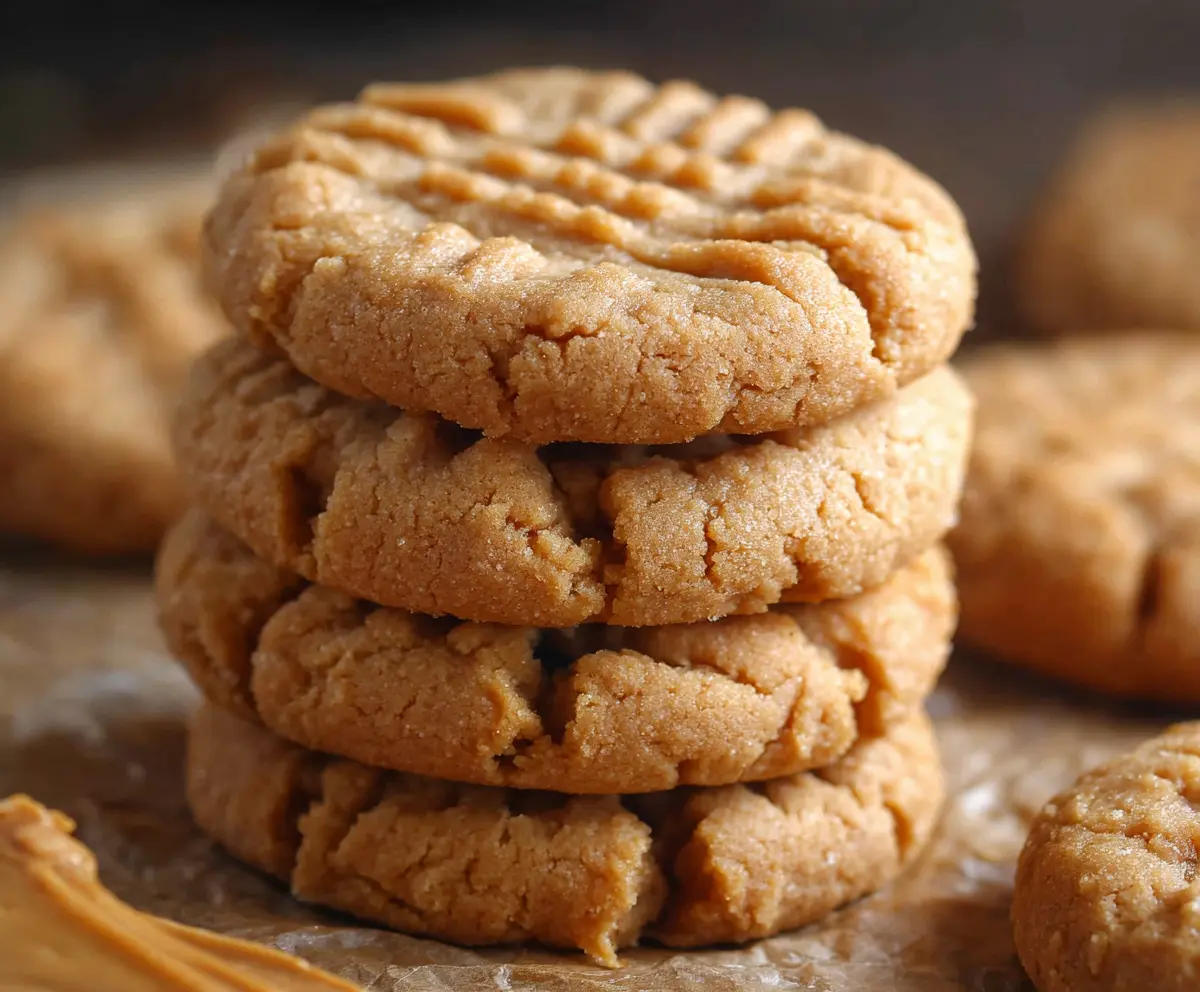
Peanut butter cookies are a classic treat that I always love to bake. They’re soft and chewy with that irresistible nutty flavor from the peanut butter, making each bite a perfect little hug of sweetness and richness. These cookies have a simple, crumbly texture on the outside with a soft center that just melts in your mouth.
I find that mixing in a bit of sugar on top before baking gives them a nice light crunch, which I really enjoy. Sometimes I like to add a sprinkle of sea salt to bring out the peanut flavor even more—it’s a small touch that makes a big difference. Baking peanut butter cookies is one of my go-to comfort food activities because it’s so easy and fills the kitchen with a warm, cozy smell.
These cookies are perfect for sharing with friends or enjoying alongside a glass of cold milk or hot tea. I often pack them up as little gifts because they always bring smiles. Whether it’s a regular afternoon snack or a special treat during the holidays, peanut butter cookies never fail to make moments feel a little sweeter and more special.
Key Ingredients & Substitutions
Creamy Peanut Butter: This gives the cookies their signature flavor and soft texture. I like creamy for smooth cookies, but you can try crunchy peanut butter if you want some extra texture. Just know it might change the chewiness a bit.
Sugar: Granulated sugar adds sweetness and helps with the classic crisp edges. You can use coconut sugar for a deeper flavor or swap half with brown sugar for a softer, moister cookie.
Egg: The egg binds everything together and adds moisture. For a vegan option, try flaxseed egg (1 tbsp ground flax with 3 tbsp water) but the texture will be slightly different.
Baking Soda: This helps the cookies rise and spread properly. Don’t skip it, or your cookies may turn out too dense.
How Do You Get That Perfect Crisscross Pattern and Soft Texture?
The crisscross pattern is an iconic step in peanut butter cookies. It’s easy to do and helps cookies bake evenly.
- Roll your dough into balls of even size for uniform baking.
- Use a fork dipped in sugar or water to press gently but firmly, first straight down, then perpendicular to make the cross.
- Don’t over-flatten; the cookies should still be thick for softness.
- Bake just until edges turn golden but centers look soft to keep that chewy middle.
Let cookies cool on the baking sheet before moving—they’ll firm up without becoming hard.
Equipment You’ll Need
- Baking sheet – a flat surface where your cookies bake evenly without sticking.
- Parchment paper – prevents cookies from sticking and makes cleanup super easy.
- Mixing bowl – big enough to mix all your ingredients without spills.
- Spoon or spatula – to combine the dough smoothly without overmixing.
- Fork – perfect for making the classic crisscross pattern on the cookies.
- Cooling rack – lets your cookies cool evenly and keeps them crisp outside.
Flavor Variations & Add-Ins
- Add chocolate chips for a sweet contrast that pairs great with peanut butter.
- Mix in chopped peanuts to add extra crunch and boost nutty flavor.
- Swap peanut butter for almond butter for a milder, slightly sweeter taste.
- Stir in a pinch of cinnamon or a dash of chili powder to twist up the flavor with warmth or spice.
Classic Peanut Butter Cookies Recipe
Ingredients You’ll Need:
- 1 cup creamy peanut butter
- 1 cup granulated sugar
- 1 large egg
- 1 teaspoon vanilla extract
- 1/2 teaspoon baking soda
- A pinch of salt (optional)
How Much Time Will You Need?
This recipe takes about 10 minutes to prepare and 10-12 minutes to bake. You’ll also want to add about 5 minutes for cooling, so plan for around 25-30 minutes total from start to finish.
Step-by-Step Instructions:
1. Get Ready to Bake:
Preheat your oven to 350°F (175°C). Line a baking sheet with parchment paper so your cookies won’t stick and cleanup is easier.
2. Mix Your Dough:
In a big bowl, stir together the creamy peanut butter and sugar until smooth and creamy. Then add the egg and vanilla extract and beat it all together until well mixed. Sprinkle in the baking soda and salt and stir until just combined—you want everything evenly mixed but don’t overdo it!
3. Shape and Flatten:
Roll your dough into small 1-inch balls and place them on the baking sheet, leaving about 2 inches between each cookie. Press each ball gently with a fork, first in one direction, then crosswise to make that classic crisscross pattern you see on peanut butter cookies.
4. Bake to Perfection:
Pop the baking sheet in the oven and bake for 10 to 12 minutes, or until the edges are lightly golden but the centers still look soft. When done, take the cookies out and let them cool on the sheet for about 5 minutes before moving them to a wire rack to cool completely.
And there you have it—delicious, soft, chewy peanut butter cookies with a perfect crisscross finish. Enjoy!
Can I Use Natural Peanut Butter Instead of Creamy?
Yes, you can use natural peanut butter, but make sure to stir it well before measuring. Keep in mind that natural peanut butter has more oil and may make the dough wetter, so you might need to chill it before baking to help the cookies hold their shape.
How Should I Store Peanut Butter Cookies?
Store your cookies in an airtight container at room temperature for up to 5 days. For longer storage, freeze them in a sealed container or bag for up to 3 months. Just thaw at room temperature before enjoying!
Can I Make These Cookies Gluten-Free?
This recipe doesn’t use flour, so they’re naturally gluten-free as long as your peanut butter and other ingredients are labeled gluten-free. Always double-check if you have a gluten allergy or sensitivity.
Will These Cookies Spread a Lot While Baking?
Because there’s no flour in this recipe, these cookies hold their shape well and don’t spread much. Just be sure to space them about 2 inches apart so they don’t stick together as they bake.