This Healthy Cheesecake is a lighter take on a classic favorite, coming in at just 100 calories per serving. It’s creamy, smooth, and has that familiar tang from cream cheese, but without all the extra heaviness. It’s perfect for when you want something sweet that still feels a little guilt-free.
I love making this cheesecake when I want a treat that won’t totally wreck my day. It’s easy to whip up and even better when chilled; the texture gets nice and firm but still melts in your mouth. Plus, it’s a crowd-pleaser—friends never guess it’s on the healthier side until I tell them.
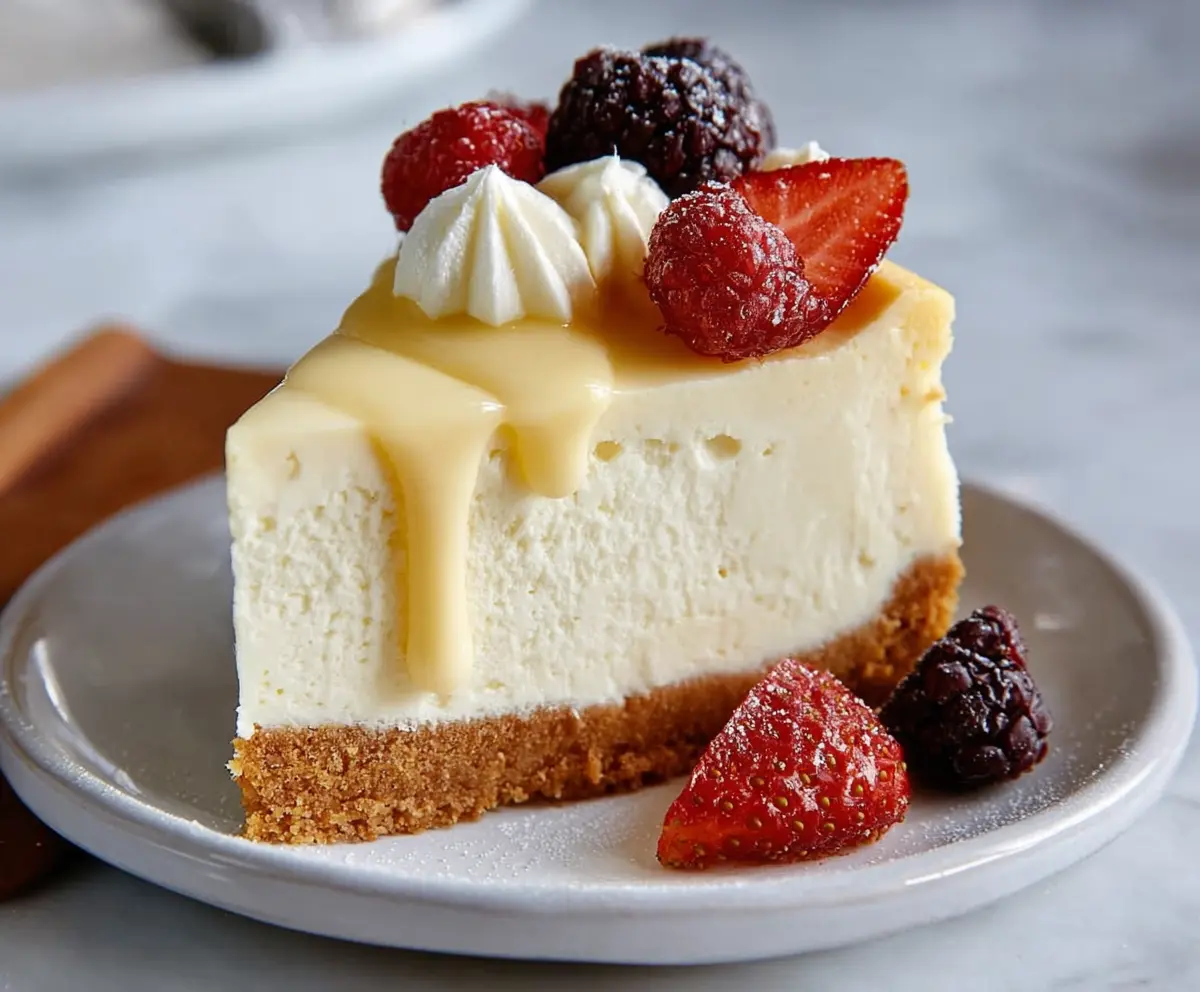
My favorite way to enjoy it is with fresh berries on top or a drizzle of honey for a touch of extra sweetness. It’s great for dessert after dinner or even as a midday snack when you need a little pick-me-up. I always feel good serving this because it satisfies my sweet tooth without the usual heaviness cheesecake can bring.
Key Ingredients & Substitutions
Light cream cheese: This is what makes the cheesecake creamy but lowers the fat compared to regular cream cheese. If you want even less fat, try using low-fat or fat-free versions, but the texture might change a bit.
Nonfat Greek yogurt: Adds moisture and tang while keeping things light. You can swap in plain low-fat yogurt if Greek yogurt isn’t available, but it may be less thick.
Granulated erythritol: A low-calorie sweetener that doesn’t add sugar. You can swap it with other sweeteners like stevia or monk fruit but adjust the amount to taste.
Graham cracker crust: Gives a satisfying crunch. You can swap for crushed digestive biscuits or oat flour if you want a gluten-free option.
How Can You Avoid Cracking in Your Cheesecake?
Cracks happen when the cheesecake cools too fast or is overbaked. Here’s how to keep it smooth:
- Bake at a gentle temperature (325°F/160°C) to cook evenly.
- Don’t overmix the batter—just blend until smooth to keep air bubbles low.
- When baking finishes, turn off the oven and let the cheesecake cool inside with the door slightly open for about 1 hour to prevent sudden temperature changes.
- Cool fully in the fridge for several hours before slicing.
This slow and steady approach results in a creamy, crack-free cheesecake every time!

Equipment You’ll Need
- 6-inch springform pan – makes removing the cheesecake easy without breaking it.
- Electric mixer or hand mixer – helps beat the cream cheese and eggs smooth without lumps.
- Mixing bowls – a large one for the batter and a small one for the crust.
- Measuring cups and spoons – to keep ingredient amounts precise for best texture and taste.
- Rubber spatula – great for scraping down the bowl to mix everything evenly.
Flavor Variations & Add-Ins
- Swirl in fresh pureed strawberries or raspberries for a fruity twist that adds color and natural sweetness.
- Add a teaspoon of cinnamon or pumpkin pie spice to the batter for warm, cozy flavors in fall or winter.
- Replace the graham cracker crust with crushed almonds or pecans mixed with a little honey for a nutty, gluten-free alternative.
- Top with sugar-free caramel or chocolate sauce for an extra treat while staying low-calorie.
How to Make Healthy Cheesecake (100 calories!)
Ingredients You’ll Need:
For the Crust:
- ½ cup (50g) graham cracker crumbs
- 1 tbsp coconut oil or light butter, melted
For the Cheesecake Filling:
- 8 oz (225g) light cream cheese, softened
- 1 cup (240g) nonfat Greek yogurt
- 2 large eggs
- ½ cup (100g) granulated erythritol or other low-calorie sweetener
- 1 tsp pure vanilla extract
- 1 tbsp lemon juice (optional, for slight tanginess)
For Topping:
- Fresh berries (strawberries, raspberries, blackberries)
- Light vanilla or sugar-free sauce for drizzle (optional)
How Much Time Will You Need?
This cheesecake takes about 20 minutes to prepare, around 35-40 minutes to bake, plus about 1 hour cooling in the oven. Then be sure to refrigerate it for at least 4 hours or overnight to let it set properly. Plan on about 6 hours total, but most of that is chilling time.
Step-by-Step Instructions:
1. Preparing the Crust:
Preheat your oven to 325°F (160°C). In a small bowl, mix the graham cracker crumbs with the melted coconut oil or butter until evenly combined. Press this mixture firmly into the bottom of a 6-inch springform pan. Bake it for about 8 minutes until slightly firm, then remove and let it cool while you make the filling.
2. Making the Cheesecake Filling:
In a large bowl, beat the softened light cream cheese with an electric mixer until smooth and creamy. Add the nonfat Greek yogurt and mix again until fully combined. Beat in the eggs, one at a time, mixing well after each addition. Add the erythritol, vanilla extract, and lemon juice (if using), then beat the mixture until smooth and creamy. Be careful not to overmix as this can cause cracks.
3. Baking and Cooling:
Pour the cheesecake batter over the cooled crust in the springform pan. Bake for 35-40 minutes until the edges are set but the center jiggles slightly when you gently tap the pan. Turn off the oven, crack the door open, and let the cheesecake cool inside for 1 hour to avoid cracking. Afterwards, place it in the refrigerator for at least 4 hours or overnight to fully set.
4. Serving:
Remove the cheesecake from the pan carefully. Top with fresh berries and, if desired, a light drizzle of vanilla or sugar-free sauce. Slice the cheesecake into 8 servings. Each slice is about 100 calories, making it a guilt-free treat for any time you crave something sweet!
Can I Use Frozen Berries as a Topping?
Yes, frozen berries work great! Just thaw them completely and pat dry with paper towels to avoid adding extra moisture to the cheesecake.
Can I Make the Cheesecake Ahead of Time?
Absolutely! This cheesecake tastes even better after chilling overnight. Prepare it a day ahead and keep it refrigerated until ready to serve.
How Should I Store Leftovers?
Store leftover cheesecake in an airtight container in the fridge for up to 4 days. For best texture, avoid freezing as it can cause it to become crumbly.
Can I Substitute the Sweetener?
Yes! Feel free to use stevia, monk fruit, or another low-calorie sweetener, but adjust the amount according to your preferred sweetness since they can vary in intensity.