
Gluten free pizza dough that’s soft, chewy, and perfect for anyone avoiding gluten but still dreaming of a classic pizza night. Made with a blend of gluten free flours and just the right amount of yeast, this dough rises beautifully and holds toppings without falling apart.
I love making this dough because it’s simple and forgiving. I’ve found that a little extra patience while letting it rise really pays off with a crust that’s surprisingly light and flexible. Plus, the smell of yeast working its magic in the kitchen always makes me smile.
For the best results, I like to roll it out on parchment paper to keep it from sticking, then pop it in a hot oven for a few minutes before adding sauce and toppings. It bakes up crispy around the edges and soft inside, just like a great pizza crust should. Whether you’re making a classic margherita or loading up with veggies, this dough is a fantastic base for a delicious, gluten free pizza night at home.
Key Ingredients & Substitutions
Gluten Free Flour Blend: This is the base of your dough. Look for blends with xanthan gum included—that helps give dough elasticity. If yours doesn’t have it, add about 1 tsp xanthan gum per cup of flour to keep the dough from falling apart.
Tapioca Flour: This starch adds chewiness and crispness to the crust. You can swap it with arrowroot or cornstarch, but tapioca is best for that classic stretchy texture.
Yeast and Sugar: Yeast gives the dough lift and flavor. Sugar feeds the yeast but use just a little – too much affects taste. If you’re short on time, instant yeast can be used instead of active dry yeast.
Olive Oil and Egg: The oil keeps the crust tender, while the egg helps bind everything together and adds richness. You can try mixing flaxseed meal with water as an egg substitute for a vegan option.
How Do I Get My Gluten Free Pizza Dough to Rise? Tips for a Puffy Crust
Rising gluten free dough can feel tricky because it’s stickier and less stretchy than regular dough. Here are some simple tips to help:
- Use warm water (about 110°F/43°C) to activate the yeast—too hot and it kills it, too cold slows it down.
- Let the yeast mix sit for at least 5 minutes until foamy to ensure it’s alive.
- Cover your dough tightly with a warm, damp cloth to keep moisture in during rising.
- Choose a warm spot for rising—near a sunny window or oven with the light on.
- Don’t expect it to double like wheat dough; it will puff slightly. That’s enough.
- If the dough feels too sticky to handle, add tapioca flour a little at a time rather than more gluten free flour.
Taking these steps helps your dough puff nicely, giving you a better crust—crispy outside and soft inside, ready for your favorite toppings!
Equipment You’ll Need
- Mixing bowls – for combining and proofing the dough; having a few sizes makes things easier.
- Measuring spoons and cups – accuracy really helps gluten free dough turn out well.
- Whisk or fork – to mix the dry ingredients and activate yeast smoothly.
- Rolling pin or wet hands – wet hands work great to shape sticky dough without sticking; rolling pins help get an even crust.
- Baking sheet or pizza stone – for baking the crust; pizza stones give a crispier base if you have one.
- Parchment paper – prevents sticking and makes transferring the dough simple.
Flavor Variations & Add-Ins
- Add fresh rosemary or garlic powder to the dough for a fragrant herbal twist that pairs well with simple toppings.
- Mix shredded parmesan or cheddar into the dough for a cheesy crust that’s tasty on its own.
- Swap the olive oil for garlic-infused oil to add an extra layer of flavor right in the crust.
- Stir in chopped sun-dried tomatoes or olives into the dough for bursts of savory bites with each slice.
How to Make Gluten Free Pizza Dough
Ingredients You’ll Need:
- 2 1/4 teaspoons (1 packet) active dry yeast
- 1 teaspoon sugar
- 3/4 cup warm water (about 110°F/43°C)
- 1 1/2 cups gluten free all-purpose flour blend (make sure it contains xanthan gum)
- 1/2 cup tapioca flour (or starch)
- 1 teaspoon salt
- 1 teaspoon baking powder
- 1 tablespoon olive oil
- 1 large egg
How Much Time Will You Need?
This recipe takes about 10 minutes to prepare, 30 to 45 minutes for the dough to rise, and another 20 to 25 minutes for baking (including topping your pizza). All in, you’ll spend under an hour to enjoy a fresh gluten free homemade pizza!
Step-by-Step Instructions:
1. Activate the Yeast:
In a small bowl, mix the warm water, sugar, and yeast. Stir gently and let it sit for 5 to 10 minutes until it becomes foamy and bubbly. This means your yeast is ready to go.
2. Mix Dry Ingredients:
In a large bowl, whisk together the gluten free flour blend, tapioca flour, salt, and baking powder. This gives a nice even mix for your dough.
3. Make the Dough:
Add the foamy yeast mixture, olive oil, and egg to your dry ingredients. Stir everything together until it forms a sticky dough. If it feels too sticky, sprinkle a little tapioca flour, one tablespoon at a time, until it’s manageable.
4. Let It Rise:
Cover the bowl with a clean towel or plastic wrap and place it somewhere warm for 30 to 45 minutes. The dough will puff up slightly, becoming airy and ready for shaping.
5. Shape and Pre-Bake the Crust:
Preheat your oven to 425°F (220°C). Line a baking sheet or pizza stone with parchment paper. Transfer the dough onto the paper and use wet hands or a rolling pin to shape it into a 10 to 12-inch round, making the edges a bit thicker.
Bake the crust for 8 to 10 minutes. This pre-bake helps it hold up when you add toppings.
6. Add Toppings and Bake Again:
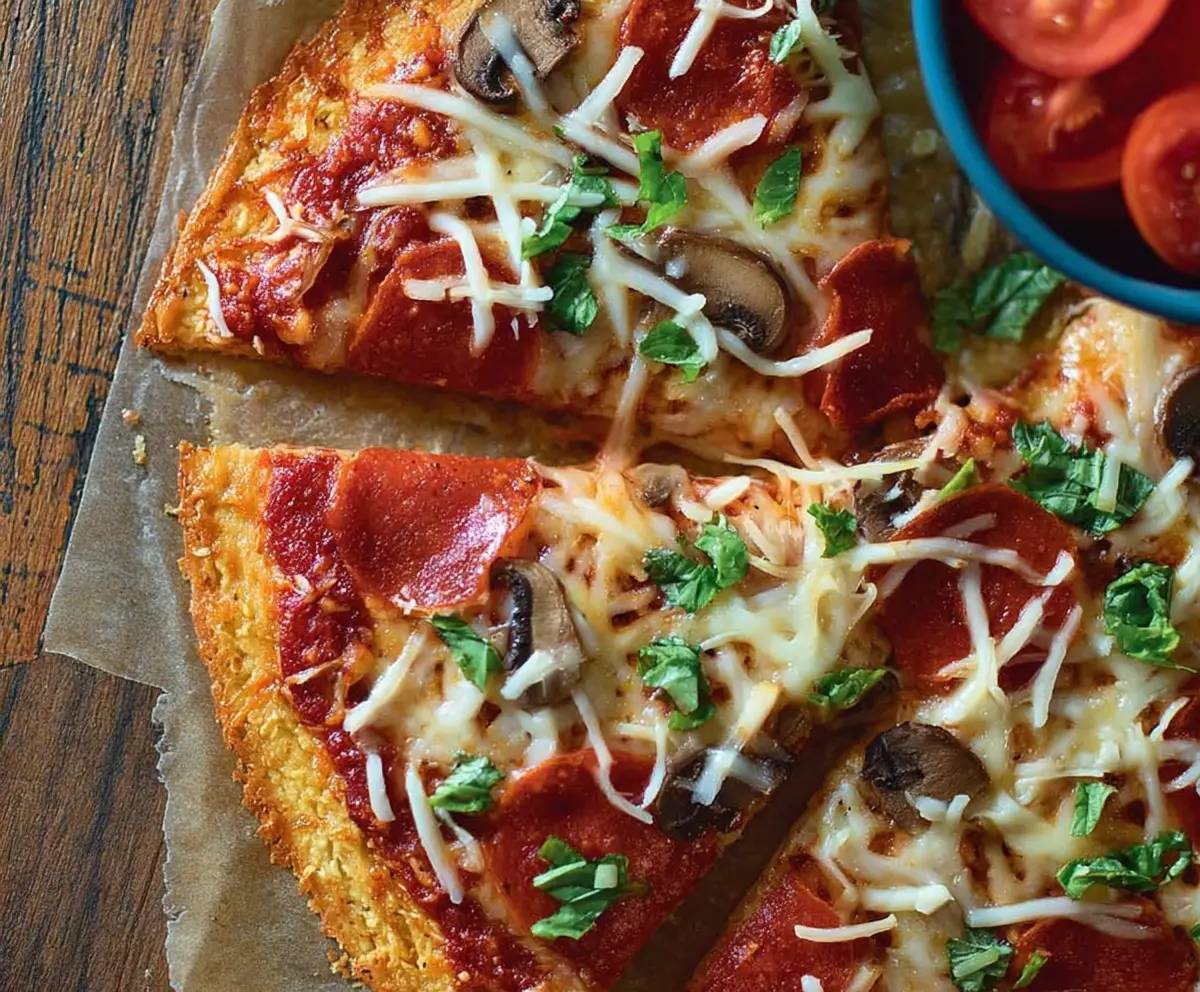
Remove the crust from the oven. Top with your favorite sauce, cheese, and toppings (like pepperoni, mushrooms, or veggies). Return the pizza to the oven and bake for another 10 to 15 minutes, or until the cheese is melted and bubbly, and the edges turn golden brown.
7. Serve and Enjoy:
Let the pizza cool for a few minutes after baking. Then slice, serve, and enjoy your delicious gluten free pizza!
Can I Use a Different Flour Instead of Tapioca Flour?
Yes, you can substitute tapioca flour with arrowroot or cornstarch, but tapioca gives the best chewy texture. If you swap, the crust might be slightly less elastic, so expect a small difference in texture.
Can I Make This Dough Ahead of Time?
Absolutely! After mixing the dough, cover it tightly and refrigerate for up to 24 hours. Let it come to room temperature and rise a bit before shaping and baking.
How Should I Store Leftover Pizza?
Keep leftovers in an airtight container or wrapped tightly in the fridge for up to 3 days. Reheat in the oven or toaster oven to help restore crispiness.
Can I Freeze the Dough?
Yes! After the first rise, shape the dough into a ball, wrap it well, and freeze for up to 2 months. Thaw overnight in the fridge before shaping, topping, and baking.