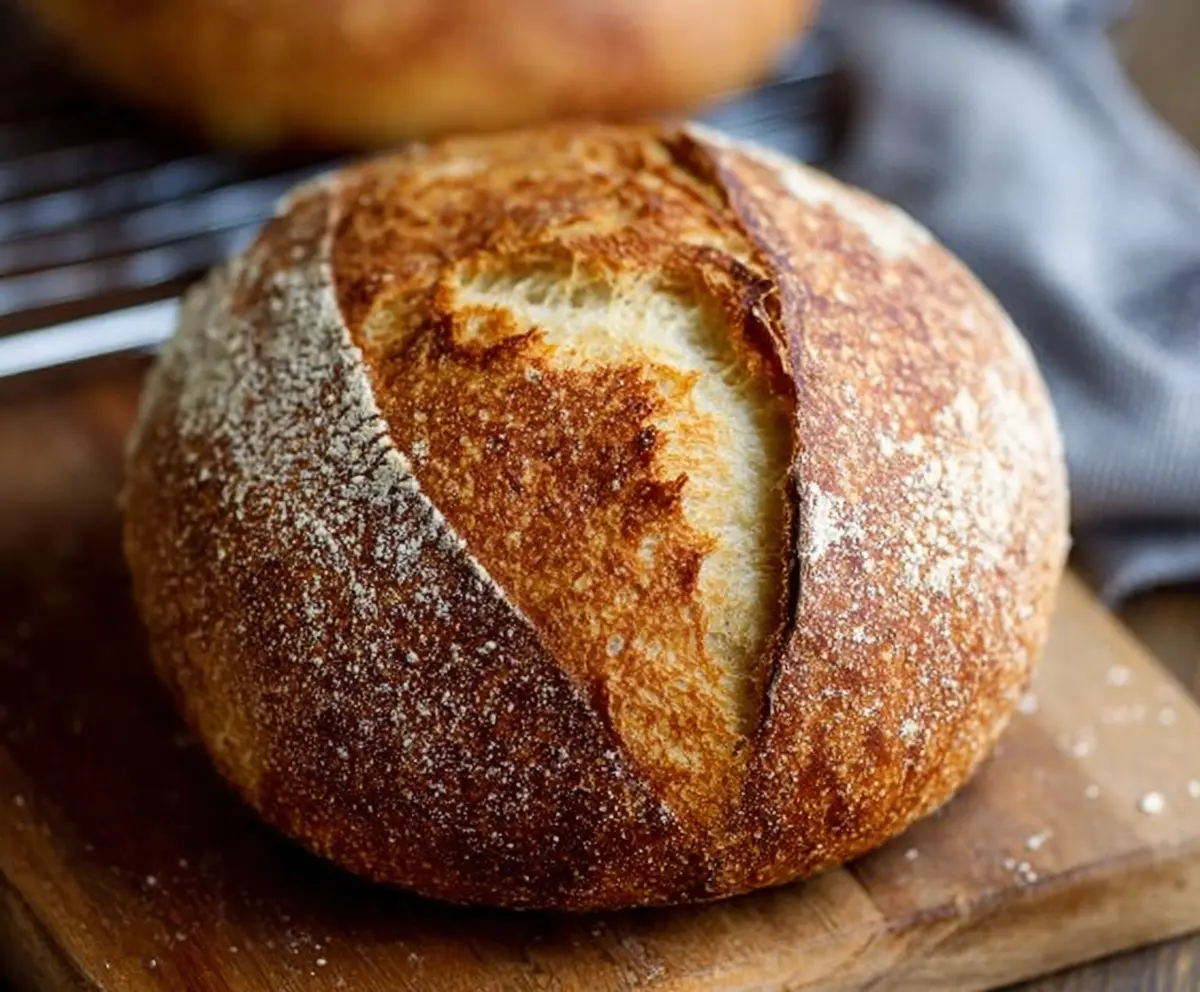
Best Ever Sourdough Bread Recipe is a classic homemade treat that brings together a crusty exterior, a soft, chewy inside, and that signature tangy flavor. It’s made with just a few simple ingredients like flour, water, salt, and your trusty sourdough starter. The step-by-step guide makes this recipe perfect for anyone wanting to bake their own loaf with confidence.
I love how this recipe takes you through every stage of making sourdough bread, from mixing and folding the dough to the slow rise that builds incredible flavor. Baking sourdough can seem tricky at first, but I promise the detailed steps make it so manageable—even if you’re new to homemade bread. Watching the dough puff up and develop bubbles is honestly so satisfying!
My favorite way to enjoy this bread is warm from the oven with a little butter or jam, but it’s also fantastic for making sandwiches or toast. Whether you’re baking for the week or just want to impress friends with your baking skills, this recipe really comes through. I keep coming back to it—it’s the kind of bread that fills your kitchen with that cozy, homey smell and makes you smile every time you slice into it.
Key Ingredients & Substitutions
Bread Flour: Using bread flour gives your loaf strength and chewiness due to its high protein. If you don’t have bread flour, all-purpose flour works fine too but expect a slightly softer crust.
Water: Lukewarm water helps activate the starter and dissolves flour well. Avoid hot water as it can kill the yeast.
Sourdough Starter: This is the heart of sourdough bread. Make sure your starter is active and bubbly before using. If you don’t have one, you can make it at home or buy from a bakery.
Salt: Salt controls yeast activity and adds flavor. Don’t skip it or use too little. Sea salt or kosher salt are good choices.
How Do You Know When to Stop Folding During Bulk Fermentation?
Stretch and folds help develop gluten and strengthen the dough. Here’s how to tell when to stop:
- Perform 3–4 folds every 30 minutes during the first 2 hours.
- Afterwards, if the dough holds its shape better and feels bouncy, you’re done.
- If the dough still feels slack or tears easily, do another fold or two.
Trusting the feel of the dough comes with practice but you’ll notice it gets smoother and more elastic as you fold.
Equipment You’ll Need
- Large mixing bowl – perfect for mixing and resting your dough comfortably.
- Dutch oven or heavy oven-safe pot with lid – traps steam to give your bread a crispy crust.
- Banneton (proofing basket) or floured bowl – helps the dough keep shape and develop a nice pattern.
- Bench scraper – makes it easier to handle and shape sticky dough.
- Sharp knife or razor blade – essential for scoring your loaf to control how it expands in the oven.
- Kitchen scale – measures ingredients accurately for consistent results.
Flavor Variations & Add-Ins
- Add 1/4 cup chopped olives or rosemary for a fragrant, savory twist.
- Mix in some whole wheat or rye flour (up to 25%) for a nuttier flavor and denser crumb.
- Try adding seeds like sunflower, flax, or sesame on top or inside for crunch and extra nutrition.
- Swirl in a handful of grated cheese during shaping for a melty, cheesy surprise inside your loaf.
Best Ever Sourdough Bread Recipe (Step-by-Step)
Ingredients You’ll Need:
- 500g (4 cups) bread flour or a mix of bread and all-purpose flour
- 350g (1 ½ cups) water, lukewarm
- 100g (½ cup) active sourdough starter (fed and bubbly)
- 10g (2 tsp) salt
- Extra flour for dusting
How Much Time Will You Need?
This recipe usually takes about 5 to 6 hours including preparation and bulk fermentation, with additional proofing time of 2–4 hours or optional overnight refrigeration for deeper flavor. Baking and cooling will add another hour, so plan for roughly 7–8 hours total or split over two days if refrigerating overnight.
Step-by-Step Instructions:
1. Mix the Dough:
In a large bowl, mix the flour and lukewarm water until no dry flour remains. Cover the bowl with a clean towel and let the dough rest for 30 minutes. This step, called autolyse, helps develop the gluten and starts the fermentation process.
2. Add Starter and Salt:
Add your active sourdough starter and salt to the dough. Use your hands or a spoon to mix everything thoroughly until fully combined.
3. Bulk Fermentation with Stretch and Folds:
Cover the bowl and let the dough rise at room temperature for about 4–5 hours. For the first 2 hours, perform stretch and folds every 30 minutes. To do this, reach under the dough, pull it up gently, and fold it over itself 3-4 times each session. This strengthens the gluten and adds structure to the dough.
4. Shape the Dough:
Turn the dough onto a lightly floured surface. Shape it into a tight ball by folding the edges into the center then gently pull the dough towards you on the counter to create tension on the surface.
5. Proof:
Place the shaped dough seam-side up in a floured banneton basket or a bowl lined with a floured towel. Cover and let it proof for 2–4 hours at room temperature, or refrigerate overnight (8–12 hours) for better flavor development.
6. Preheat Oven:
Place a Dutch oven or heavy oven-safe pot with a lid in your oven and preheat it to 475°F (245°C) for at least 30 minutes. Getting the pot very hot helps create steam for a beautiful crust.
7. Score and Bake:
Carefully remove the hot pot from the oven. Flip the dough out of the proofing basket onto a piece of parchment paper. Score the top of the dough with a sharp knife or razor blade to help it expand. Transfer the dough and parchment into the pot, cover it with the lid, and bake for 20 minutes.
8. Finish Baking:
Remove the lid and bake for another 20–25 minutes until the crust is deeply golden and crispy.
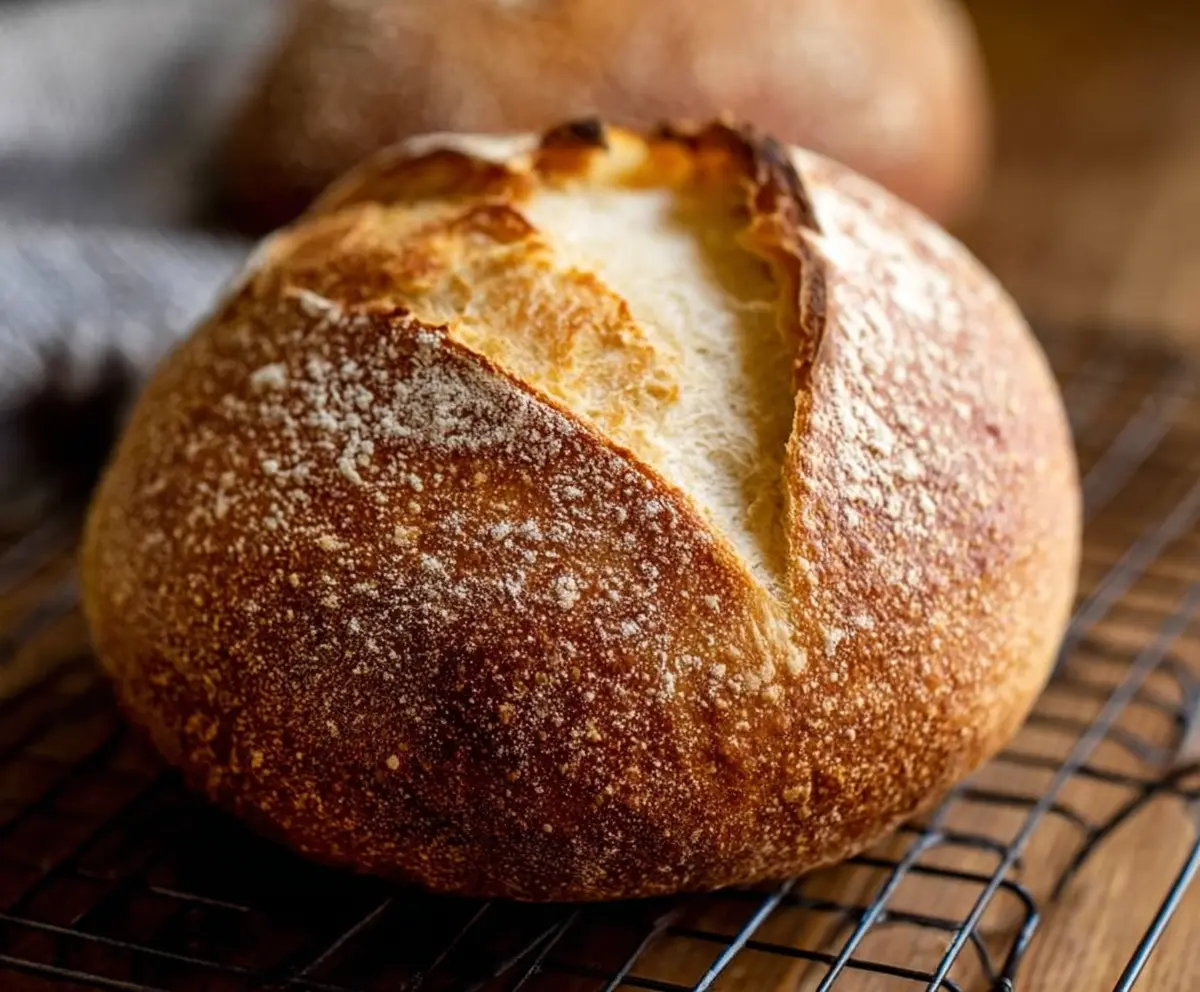
9. Cool:
Take the bread out of the oven and place it on a wire rack to cool completely before slicing. This cooling step is important because it lets the crumb finish setting up, giving you that tender, open texture inside.
Enjoy your delicious homemade sourdough bread with its crispy crust and chewy, flavorful crumb!
Can I Use All-Purpose Flour Instead of Bread Flour?
Yes, you can substitute all-purpose flour for bread flour. The bread will have a slightly softer crust and less chewiness, but it will still taste great and rise well.
How Do I Know When My Sourdough Starter Is Ready to Use?
Your starter should be bubbly and have doubled in size about 4–6 hours after feeding. It should also pass the “float test”—a small spoonful floats in water, indicating good fermentation.
Can I Refrigerate the Dough Overnight?
Absolutely! After shaping, place the dough in the fridge for 8–12 hours to proof slowly. This enhances flavor and makes baking more flexible. Just bring it to room temperature before baking if you have time.
How Should I Store Leftover Sourdough Bread?
Store your bread in a paper bag or bread box at room temperature for up to 3 days. For longer storage, slice and freeze it in an airtight bag—toast slices straight from the freezer for best results.